Sometimes straightening thing up gives an added bonus: you find projects you had forgotten about. While searching for fabric I was sure I had, I found a set of little girl dresses that were preprinted on fabric. They are like the simple cut-around -the-edges kits for pillows and stuffed animals but someone gave me this set of panels awhile back and I put them away for "later". They are sundresses from Jelly Bean Junction called "Sunny Faces" so June seemed like a good time to look at them again:
 |
| Here's the only likeness I have |
As I read over the directions and tried to put it together in my mind, I could see that I needed lining for the bodice and buttons:
 |
| Here's the only directions (without illustrations) |
 |
| Printed on pieces with lines for size adjustments |
The straps had been sewn and the back seam of one...wait a minute. One is marked "6" and then I see there are more fronts, backs, long stretches for the skirt..there are three of these dresses and I can choose size 2,4,6, or 8! Since I'm missing some of the shoulder straps, I decide I'll replace the straps on the smallest one with ribbon that has picots on the edge so it will tie and also have a bit of grip to stay tied. Now that I get one cut out and ready to sew I need to decide which sewing machine I'll use. That's easy: my newest Singer 99:
 |
| Singer 99 in bentwood case all cleaned up and ready to sew |
This is a great way to test a sewing machine to see if I have everything adjusted correctly. I sew up the first parts only to find the back seam that I've decided to make into a flat felled seam (no raveling) doesn't look good at all:
 |
| Stitches not smooth! |
The white thread was not good and neither were the stitches so I adjusted the bobbin tension and resewed it with blue thread:
 |
| Much better tension and resulting stitches |
After adding the skirt to the bodice I didn't like the raw edges so I added bias binding for a smooth finish:
 |
| Bias binding added in two steps |
Here it is mostly done (this is the photo I text to my sisters who were my "advisory panel"):
 |
| Full length, too long for a size 2 |
Now to add the three buttons to the back bodice. I love buttonhole attachments and had several for this low shank straight stitch Singer:
 |
| She's been well used but all of the parts are there! |
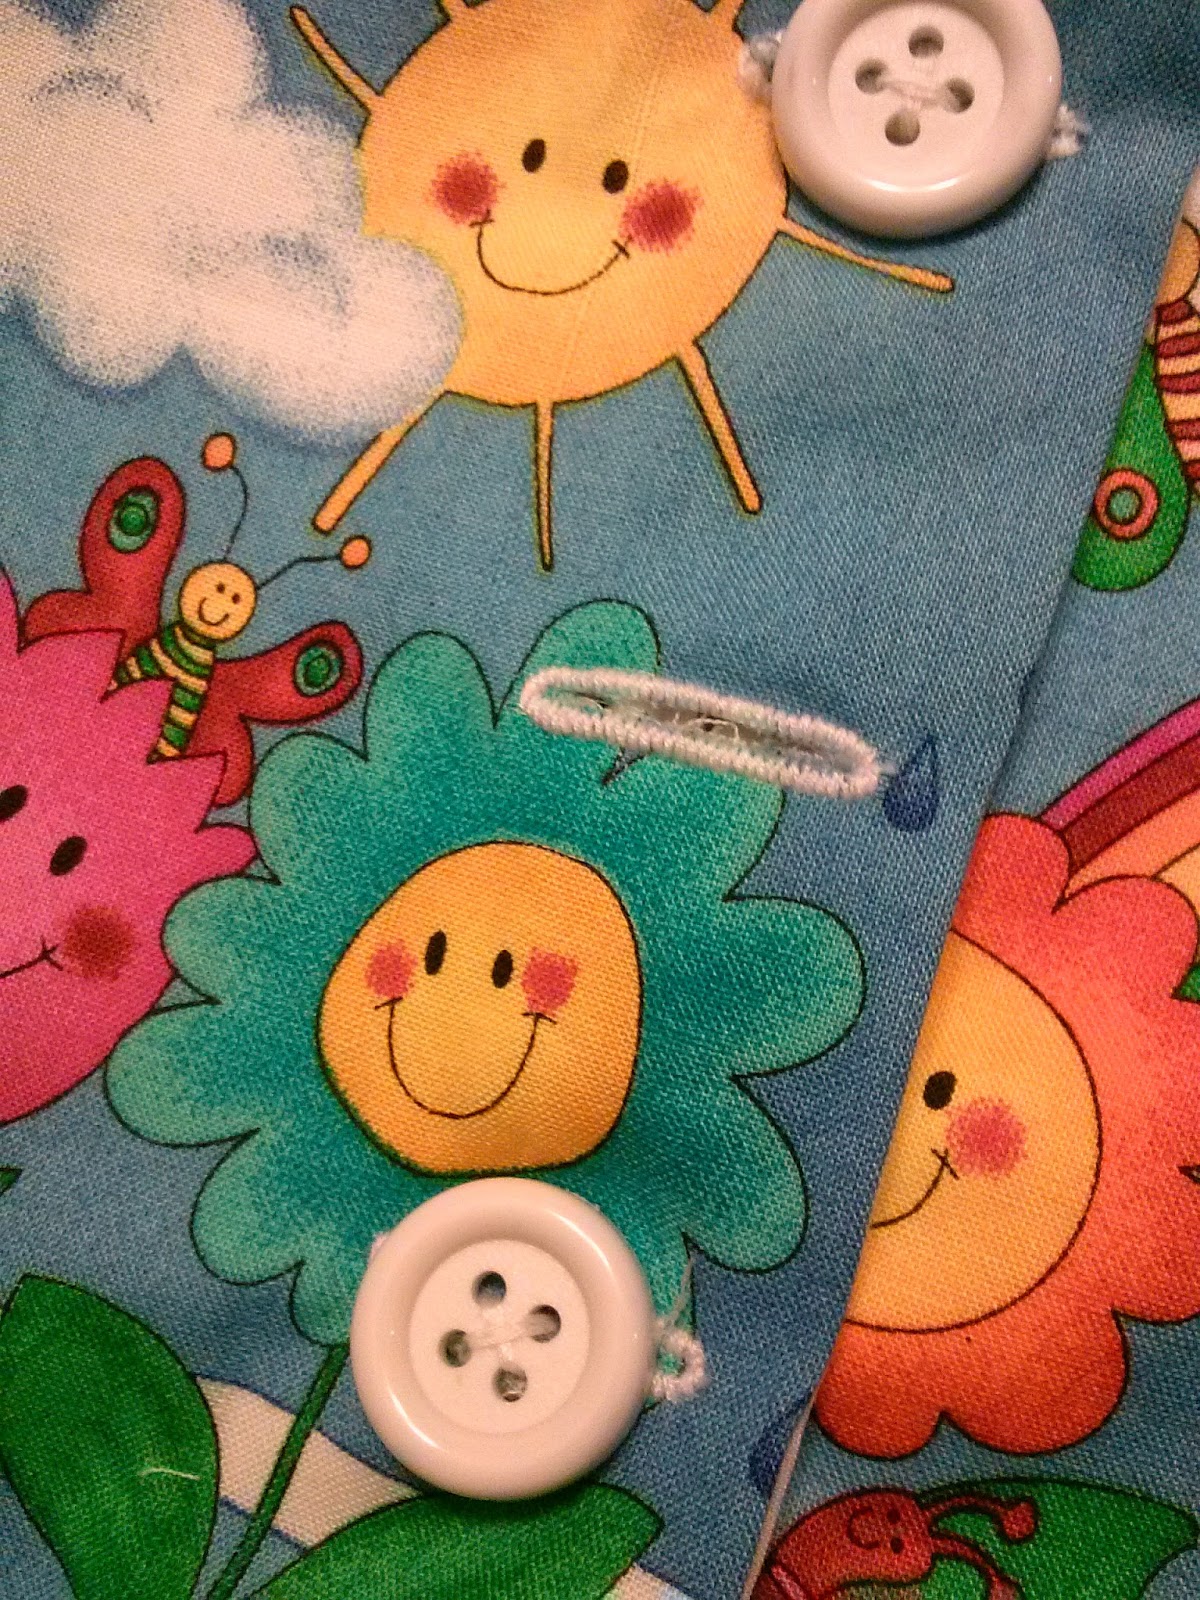
I make two practice buttonholes and then added them to the dress:
 |
| Pretty good huh? |
So now I hem the dress with just a straight stitch so it can be let down in case the size 2 girl who wears it is tall.
 |
| Jelly Bean Junction "Sunny Faces" Dress Size 2 |
I got to finish up one part of a three dress project and test out a sewing machine to boot. I love the way the buttonholes turned out and the only thing I
might have missed was using a blind hem stitch for the hem. There is an attachment for it but that seems a bit like overkill when I have other sewing machines that can make a blind hem easily. If it were my only sewing machine? Maybe. But I'm still not sure I'm cut out to be an only straight stitch kind of a sewer but just some of those machines are so
sweet!


2 comments:
I love those old buttonhole attachments too. I think they look better than any done on new machines.
Yes, they are usually much better (and more reliable, too).
Post a Comment